
.NET Identity refers to the framework’s built-in system for managing user authentication and authorization. For many devs , working with Identity can be a daunting experience, especially when dealing with its complex configuration settings, various user stores, and the myriad of options for customization. Fortunately, Microsoft has recently announced improvements in auth as part of the upcoming release of .NET 8, which promises to enhance the overall experience. You can learn more about these upcoming changes here. Today we are going to explore how to utilize the new API endpoints that enable token-based authentication!
Prerequisites
- .NET 8.0.0-rc-1 installed.
- Visual Studio Preview or VS Code.
- A basic understanding of .NET Core and authentication concepts to follow the tutorial effectively.
Getting Started
Let’s create a new project. Either from the IDE or the terminal. I’ll be using VS Code and the terminal in this guide.
- Open the integrated terminal.
- Change directory to the desired path.
- Run the commands to create and open the project in VS Code:
1
2
dotnet new webapi -o ApiEndpoints -minimal -f net8.0
code -r .\ApiEndpoints\
dotnet new webapi: This command creates a new .NET Web API project.
-o ApiEndpoints: The-ooption specifies the output directory for the project.
-minimal: This flag means that the project will be created as a minimal api.
-f net8.0: The-fflag specifies the framework to target.
Now that we have the project to work on lets add the packages needed.
Run the following commands to add the packages from the terminal. The version of the packages is the latest at the moment of writing this:
1
2
3
dotnet add package Microsoft.AspNetCore.Identity.EntityFrameworkCore --version 8.0.0-rc.1.23421.29
dotnet add package Microsoft.EntityFrameworkCore.Design --version 8.0.0-rc.1.23419.6
dotnet add package Microsoft.EntityFrameworkCore.Sqlite --version 8.0.0-rc.1.23419.6
We should be have everything set up to start adding code!
Implementation
Let’s start by creating the app’s user class. It’s going to be inheriting from IdentityUser.
1
2
3
4
5
6
7
8
using Microsoft.AspNetCore.Identity;

namespace ApiEndpoints;
// Define the AppUser class, which represents a user in the application.
internal class AppUser :IdentityUser
{
  // You can add any additional properties needed for the user entity here.
}
Then, we have to create our DbContext class like so:
1
2
3
4
5
6
7
8
9
10
11
12
13
using ApiEndpoints.User;
using Microsoft.AspNetCore.Identity.EntityFrameworkCore;
using Microsoft.EntityFrameworkCore;

namespace ApiEndpoints.DbContext;
// Create the AppDbContext class that inherits from IdentityDbContext.
internal class AppDbContext : IdentityDbContext<AppUser>
{
  public AppDbContext(DbContextOptions<AppDbContext> options) : base(options)
  {
    // Constructor for initializing the database context.
  }
}
When using Identity,
IdentityDbContextshould be used instead ofDbContext.
And now we are ready to start adding the services needed for auth to the dependency container.
We register the db context class we created as a service in the Program.cs class, and we configure it with the database provider of our choice:
1
builder.Services.AddDbContext<AppDbContext>(dbContextOptionsBuilder => dbContextOptionsBuilder.UseSqlite("Data Source=myapp.db"));
Then we add authorization by calling the AddAuthorizationBuilder method. It’s a method introduced in .NET 7 which is the preferred way to add authorization services into the IServiceCollection collection and it provides a builder for constructing policies.
1
builder.Services.AddAuthorizationBuilder();
And now we need to add identity. We do that by calling the AddIdentityApiEndpoints method and then chain the AddEntityFrameworkStores.
1
2
3
builder.Services
	.AddIdentityApiEndpoints<AppUser>()
	.AddEntityFrameworkStores<AppDbContext>();
AddIdentityApiEndpoints adds a set of common identity services and configures authentication to support identity bearer tokens and cookies. More specifically it adds the following:
1
2
3
4
5
6
7
8
9
10
11
12
13
14
15
16
17
18
19
public static IdentityBuilder AddIdentityApiEndpoints<TUser>(this IServiceCollection services, Action<IdentityOptions> configure)
    where TUser : class, new()
{
    ArgumentNullException.ThrowIfNull(services);
    ArgumentNullException.ThrowIfNull(configure);

    services
        .AddAuthentication(IdentityConstants.BearerAndApplicationScheme)
        .AddScheme<AuthenticationSchemeOptions, CompositeIdentityHandler>(IdentityConstants.BearerAndApplicationScheme, null, compositeOptions =>
        {
            compositeOptions.ForwardDefault = IdentityConstants.BearerScheme;
            compositeOptions.ForwardAuthenticate = IdentityConstants.BearerAndApplicationScheme;
        })
        .AddBearerToken(IdentityConstants.BearerScheme)
        .AddIdentityCookies();

    return services.AddIdentityCore<TUser>(configure)
        .AddApiEndpoints();
}
Finally we add a call to MapIdentityApi to add endpoints for actions like registering a new user, logging in and logging out using Identity.
1
app.MapIdentityApi<AppUser>();
You can read more about the endpoints that are being created by using this method, and what happens in each endpoint here.
Last but not least we have to run the migrations to our database.
1
2
dotnet ef migrations add InitialCreate
dotnet ef database update
To run the above commands you have to have installed the dotnet ef tools cli which you can find here.
Trying out the new endpoints
To test out the new auth we should add the RequireAuthorization method to any endpoint you would like to require authorization to call. I’m going to add it to the endpoint that comes with the template /weatherforecast. Let’s run our web api to try it out. Run the following command:
1
dotnet run
Your terminal should be showing something similar to this: 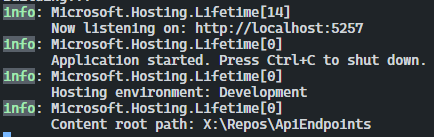 .NET Server running in terminal
Grab the url that shows on the terminal and lets hit the endpoints. You can either do that on any api tool like Postman and Insomnia, or you could view the endpoints on Swagger.
These are all the endpoints that have been created (seeing them on Swagger UI): 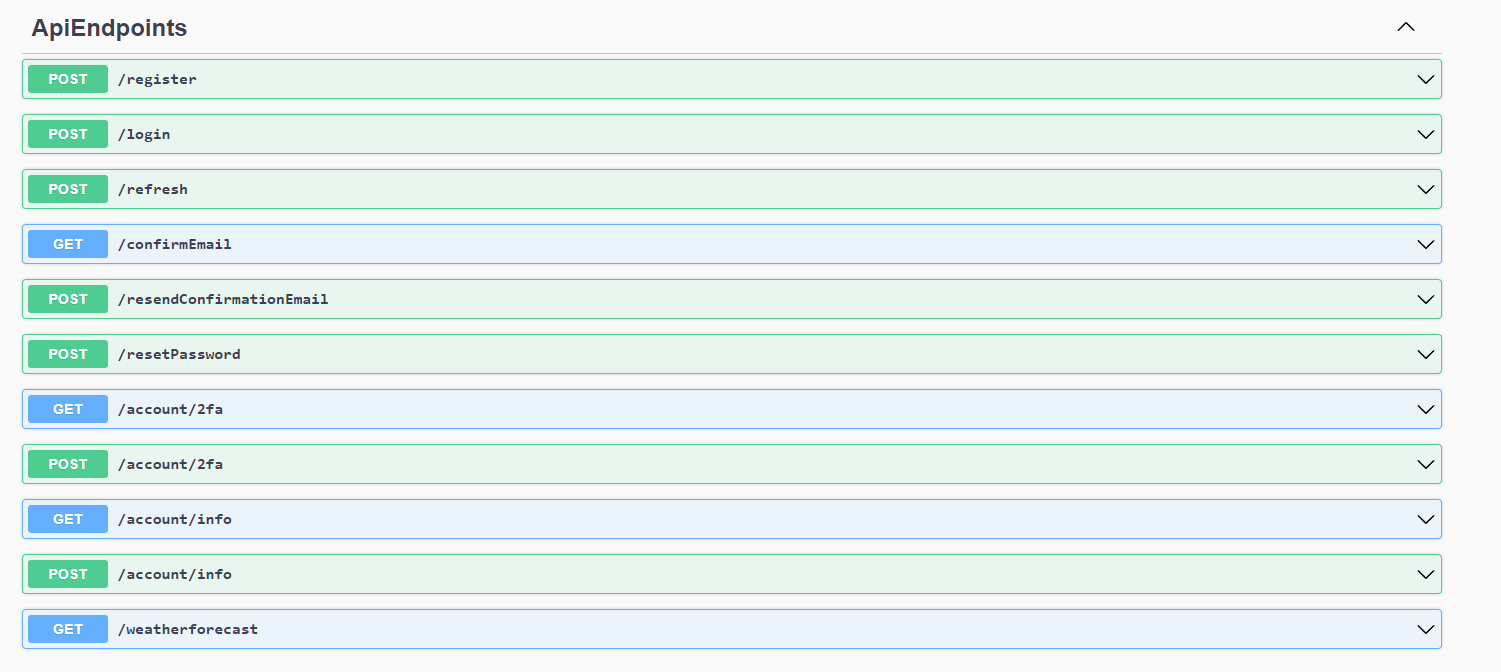 Endpoints in Swagger
We definitely get a lot out of the box with no configuration whatsoever!
If we try to hit the /weatherforecast endpoint this is the response we get: 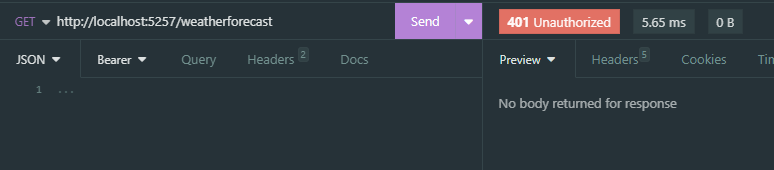 /weatherforecast denied access
The tool used for API testing in this article Insomnia.
We will have to register a new user, login with our credentials, grab the token and use it to authenticate ourselves and get the results from the protected endpoint.
Register endpoint (POST) http://localhost:/register
This is a POST request with a JSON request body of the following structure:
1
2
3
4
5
{
  "username": "string",
  "password": "string",
  "email": "string"
}
 /register endpoint
We see that it indeed exists in the database:  SQLite query result
To view the sqlite db query results in
VS Code, use an extension like SQLite.
Login endpoint (POST) http://localhost:/login
This is a POST request with the following JSON request body:
1
2
3
4
{
  "username": "string",
  "password": "string"
}
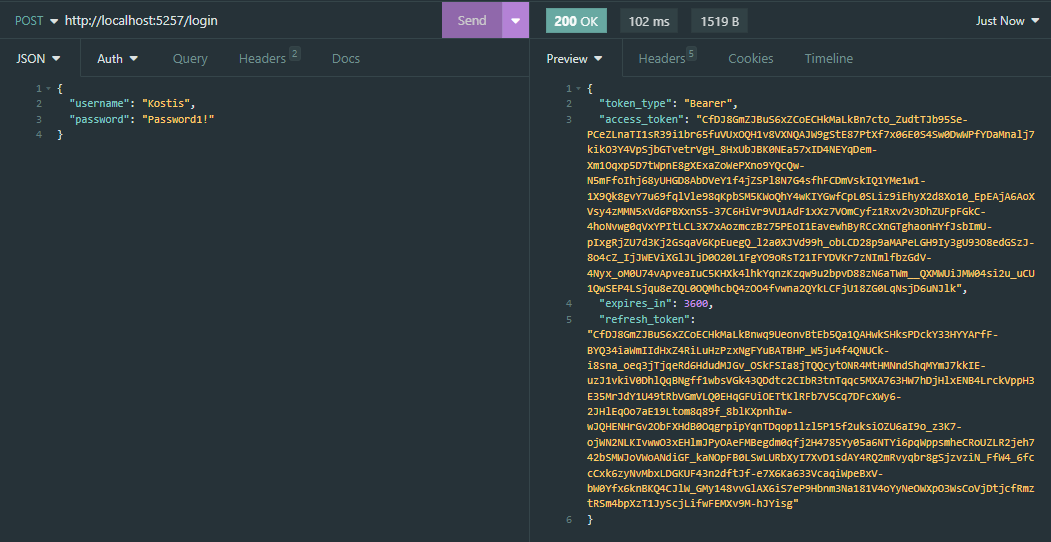 /login endpoint
Weatherforecast endpoint (GET) http://localhost:<port_no/weatherforecast
We are going to use the access_token that was generated by the login endpoint, to authorize ourselves to be able to call the protected /weatherforecast endpoint.
/weatherforecast endpoint accessed
And that’s pretty much it!
Summary
In this guide, we’ve explored Identity Endpoints in .NET 8 for user login and security. It’s certainly easier to handle authentication and authorization with the recent improvements from Microsoft, and it sure seems like a very promising step in the right direction!